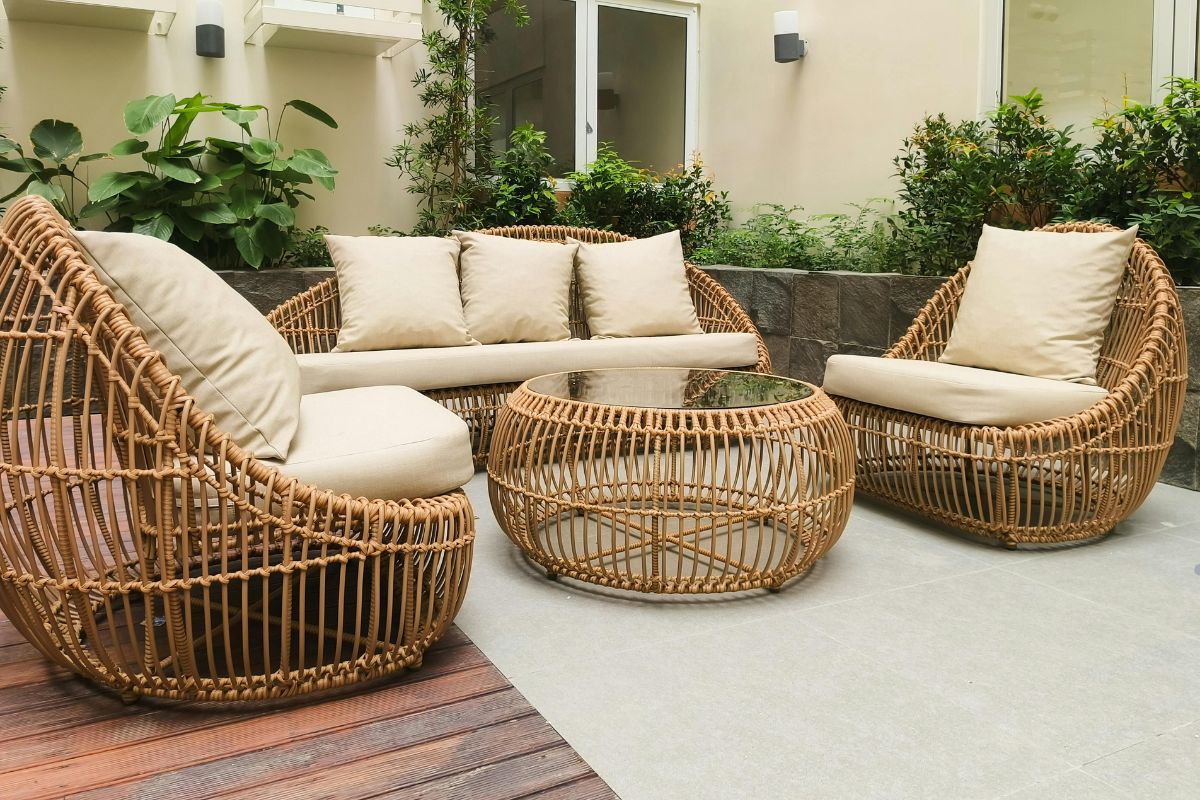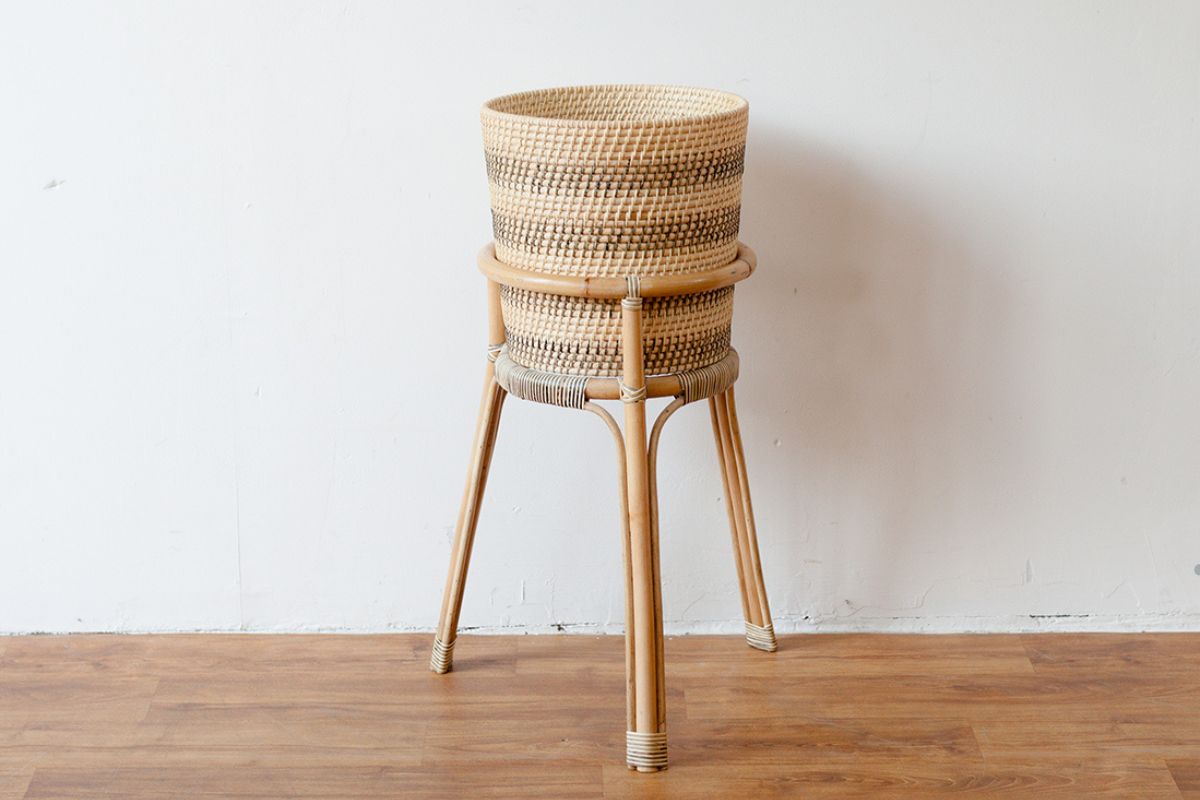
Got weathered, broken, or sagging wicker furniture cluttering up your beautiful Austin patio? Don’t rush to replace it! Yes, you can absolutely repair most wicker patio furniture yourself, saving money, reducing waste, and keeping pieces you love functional and beautiful. Whether it’s a snapped strand, a loose weave, or just looking a bit tired from the Texas sun, this guide will walk you through the steps to assess the damage, gather your supplies, and make those essential repairs, restoring your outdoor oasis.
Why Repair Your Wicker Furniture (Instead of Replacing)?
Replacing outdoor furniture can be costly, but repairing your existing wicker pieces is a more budget-friendly alternative. Not only does it save you money, but restoring your furniture yourself or with professional help can be incredibly rewarding. It’s also an eco-friendly choice, preventing large items from ending up in Austin landfills. If your wicker set holds sentimental value or is the perfect fit for your patio, repair is the ideal solution to extend its life. The harsh Austin sun and occasional humidity can take a toll, but our expert wicker repair services can help you restore and protect your cherished pieces, ensuring they look great for years to come. Let us bring your furniture back to life!
Assessing the Damage: What Needs Fixing?

Before you start any repair, take a close look at your wicker furniture. A thorough inspection helps you understand the scope of the work and ensures you have the right materials. Check for:
- Finish Damage: Fading, peeling, or cracking of paint or sealant, often accelerated by intense sunlight like we get in Austin.
- Unraveling: Edges or decorative wraps coming undone.
- Sagging Seats or Backs: Loss of tension and support.
- Loose Joints or Wobbly Frame: Structural instability where pieces connect.
- Broken or Missing Strands: Individual pieces of wicker that have snapped or come loose.
Repairing vinyl furniture usually starts with thoroughly cleaning the damaged area, followed by applying a specialized vinyl repair kit—either liquid vinyl or a patch, depending on the extent of the damage. Matching the texture and allowing it to cure properly are key steps for a seamless fix. While DIY kits work well for minor tears, scratches, and small holes, more severe damage may need professional repair. For a detailed step-by-step guide, check out our blog: DIY Vinyl Furniture Repair: A Step-by-Step Guide.
Gathering Your Tools and Materials
Having everything ready before you start makes the process smoother. Most items are available at Austin hardware stores, craft stores, or online. You’ll likely need:
- Sharp Scissors or Snips: For cutting wicker strands cleanly.
- Pliers: Needle-nose pliers are helpful for tucking strands.
- Strong Waterproof Glue: Wood glue for frame repairs, epoxy or specific wicker adhesive for strands (check compatibility with your wicker type – natural vs. synthetic).
- Clamps: Spring clamps or C-clamps to hold glued pieces while they dry.
- Replacement Wicker Strands: Match the color and material natural reed, rattan, or synthetic vinyl/resin as closely as possible.
- Sandpaper: Fine-grit for smoothing rough spots or prepping for sealant.
- Stiff Brush: For cleaning.
- Clean Rags: For wiping and application.
- Varnish, Sealant, or Paint: Choose an outdoor-specific product designed to withstand UV rays and moisture – crucial for Austin’s climate.
- Gloves and Safety Glasses: Always protect yourself!
Prepping for Perfection: Cleaning Your Wicker Furniture
Don’t skip this step! Dirt, pollen (hello, Austin!), mildew, and grime prevent glue and finishes from adhering properly.
- Brush & Vacuum: Use a stiff brush to remove loose dirt and debris. Use a vacuum with a brush attachment to get into crevices.
- Wash: Mix mild soap with warm water. Gently scrub the wicker with a cloth or soft brush. Avoid over-saturating natural wicker.
- Rinse: Rinse thoroughly with clean water using a hose (low pressure) or damp rags.
- Dry Completely: Allow the furniture to air dry completely, ideally in a shaded area away from direct, intense sunlight. Depending on humidity levels, this may take a day or two. Make sure it is fully dry before starting any repairs to ensure the best results. If you need assistance, call us—we’re here to help!
Step-by-Step Wicker Repair Techniques
With your clean, dry furniture and supplies ready, it’s time to repair! Here’s how to tackle common issues:
- Fixing Broken Strands: Snip the broken strand back slightly into the weave on both sides. Cut a replacement strand slightly longer than the gap. Apply glue to the ends of the replacement strand and carefully tuck them into the weave where the old strand was removed. Weave the new strand following the existing pattern. Secure ends with glue and clamp lightly if needed until dry.
- Repairing Unraveling Edges/Wraps: Apply a suitable adhesive under the loose wrap. Tightly rewind the wrap back into place. Secure it with painter’s tape or clamps until the glue fully cures.
- Addressing Sagging Seats: This can be tricky. Sometimes, support straps underneath may need tightening or replacing. For woven seats, carefully weaving in additional reinforcing strands diagonally or parallel to existing supports might help, but significant sagging often requires professional attention or structural work.
- Re-gluing Joints: If the frame is loose, gently separate the joint if possible. Clean out any old glue and debris. Apply fresh waterproof wood glue, reassemble the joint, and clamp securely until the glue is fully cured (check glue instructions, usually 24 hours).
- Refinishing: If the finish is damaged or you want a fresh look, lightly sand the surface. Wipe away dust. Apply thin, even coats of your chosen outdoor sealant, varnish, or paint suitable for wicker. Follow the product’s instructions regarding drying times between coats.
Keeping Your Repaired Wicker Looking Great in Austin

Now that you’ve invested time in repairs, protect your work! Proper maintenance extends the life of your wicker furniture, especially under the Texas sun.
- Clean Regularly: Brush off dust, pollen, and debris frequently. Wash occasionally as needed (following the cleaning steps above).
- Use Covers: Invest in breathable patio furniture covers when furniture isn’t in use, especially during intense sun or rainy periods.
- Limit Direct Sun/Rain: If possible, position furniture in shaded areas or bring cushions indoors when not in use.
- Inspect & Touch Up: Annually check the sealant and look for any new minor damage. Touch up finishes or small repairs promptly before they worsen.
When to Call a Professional Wicker Repair Service in Austin
DIY repair is great for minor issues, but sometimes a professional touch is needed. Consider calling for help if:
- The damage is extensive (many broken strands, large unravelled sections).
- There are structural issues, like a broken frame piece.
- The piece is a valuable antique or highly complex weave.
- You lack the time, tools, or confidence to achieve a lasting, quality repair.
DIY repair is great for minor issues, but some situations call for a professional touch. If your wicker furniture has extensive damage, such as multiple broken strands or large unraveled sections, or if there are structural issues like a broken frame, expert repair may be the best option. Valuable antiques or intricate weaves also require specialized care to ensure proper restoration. Additionally, if you lack the time, tools, or confidence for a lasting fix, professional services can save you the hassle. Don’t hesitate to reach out—our experienced team has the skills and materials to handle even the most challenging repairs. Call us today!
Enjoy Your Revived Patio Furniture!
Congratulations! By following these steps, you’ve likely rescued your wicker furniture from the curb and given it a new lease on life. Repairing your own furniture is rewarding, saves money, and allows you to continue enjoying your pieces on your Austin deck or patio for years to come. Sit back, relax, and admire your handiwork!
Frequently Asked Questions About Wicker Repair
Can all types of wicker be repaired?
Generally, yes. Both natural wicker (like rattan, cane, reed, bamboo) and synthetic (resin, vinyl, all-weather) wicker can usually be repaired. Synthetic wicker is often easier as it’s more uniform and less prone to splitting. Repairing natural wicker might require more careful handling and specific adhesives.
What’s the best glue for wicker repair?
It depends on the material and location of the repair. For structural frame repairs (often wood), a waterproof PVA wood glue is best. For weaving strands, a strong, clear, waterproof adhesive that remains somewhat flexible is ideal. Epoxy can work well, especially for synthetics. Some specialized vinyl adhesives are also effective for resin wicker. Always check the glue label for material compatibility.
How often should I seal my wicker furniture in Austin?
Given Austin’s strong sun and variable humidity, inspecting the seal annually is wise. You’ll likely need to reapply a quality outdoor sealant or varnish every 1-2 years to provide adequate UV and moisture protection and keep the wicker from drying out or degrading. Furniture in direct, all-day sun may need sealing more often than pieces kept in shade. furniture sealants.
Is synthetic wicker easier to repair than natural wicker?
Yes, in many cases. Synthetic wicker strands are usually more consistent in size and color, making it easier to find a perfect match for repairs. They are also more resistant to splitting and moisture absorption compared to natural fibers like rattan or reed. However, the fundamental weaving and gluing techniques remain the same for both materials. If you need help restoring your wicker furniture, contact us today!
